Quartus II has several editions, not all work with Cyclone II. Download the correct one from the link below if still available:

Decompress the downloaded TAR file. I used 7-zip to extract the files from it.
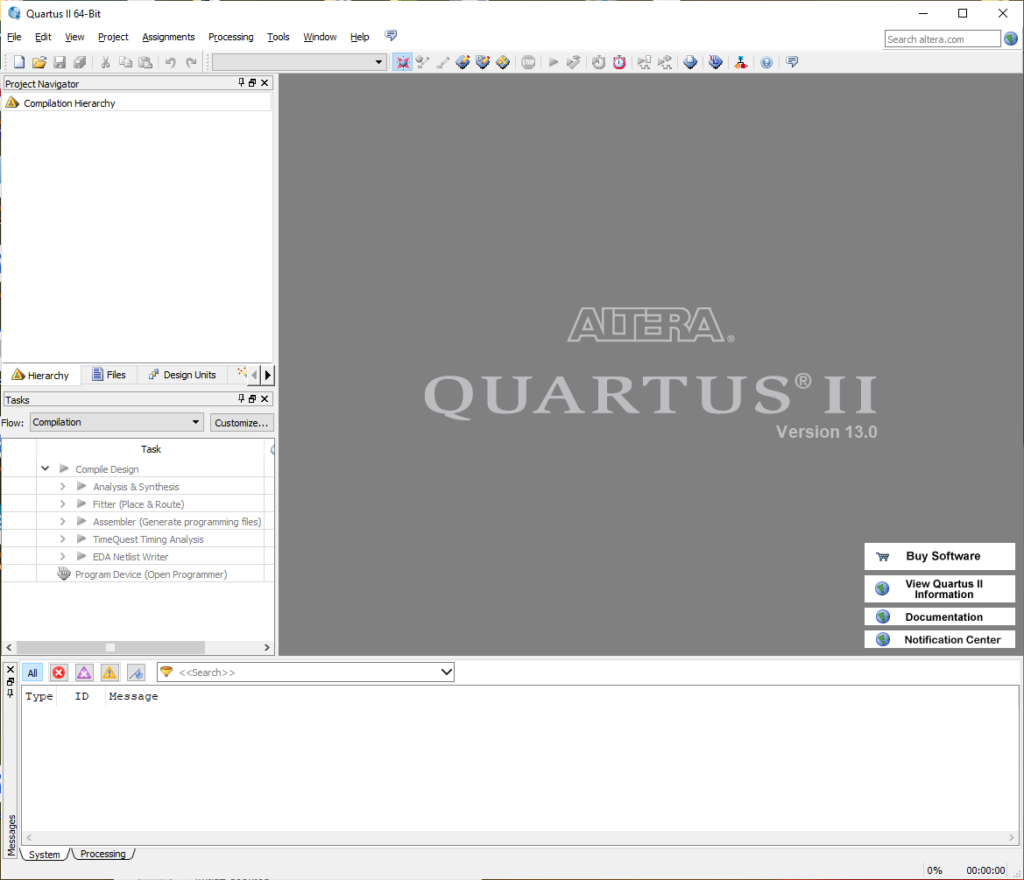
Install and run it. It looks as below when run first time:
Installing USB-Blaster Drivers
The Hobby Components Altera CPLD/FPGA USB Programmer uses the same drivers as shipped with Quartus, which are found here after installation of Quartus:
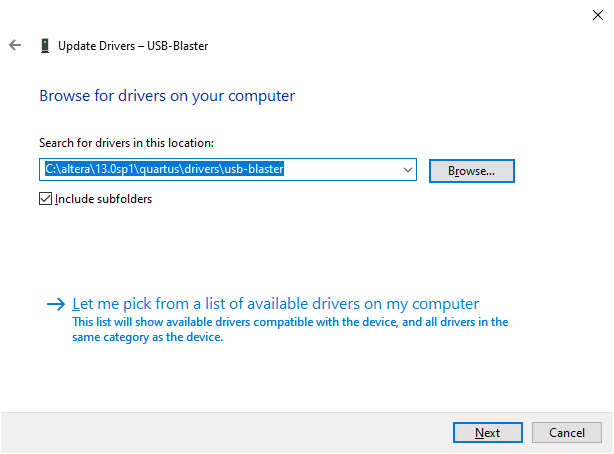
C:\altera\13.0sp1\quartus\drivers\usb-blaster
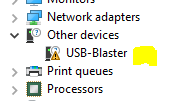
When connecting it the first time, Windows did recognise it as USB-Blaster, but doesn’t seem to have automatically installed the drivers. In Device Manager, it appears as below:
Going to properties of this device reports as below:
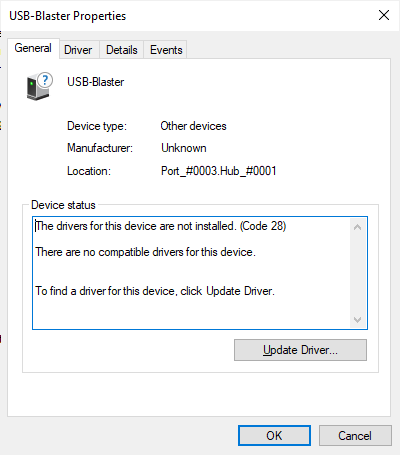
Click on “Update Driver…” to get to the following dialog:
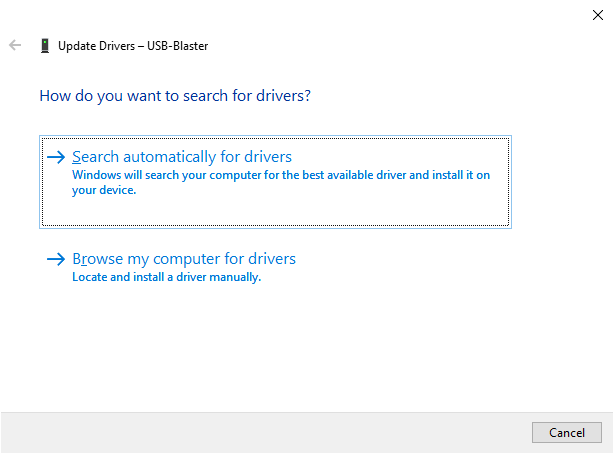
Click on “Browse my computer for drivers”:
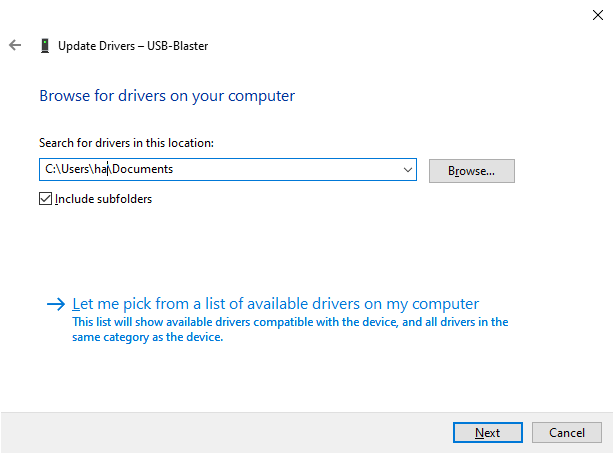
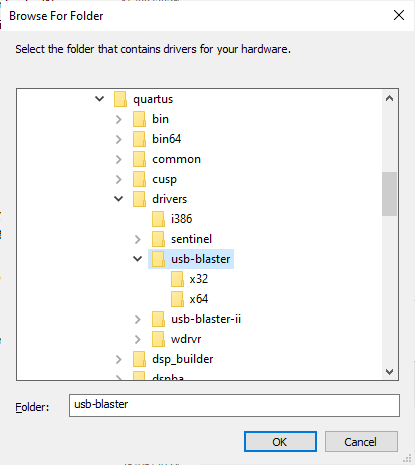
Click on Browse and go to the folder where the drivers are located:
Click “Next” button:
If you get Windows Security warning as below, click on “Install”:
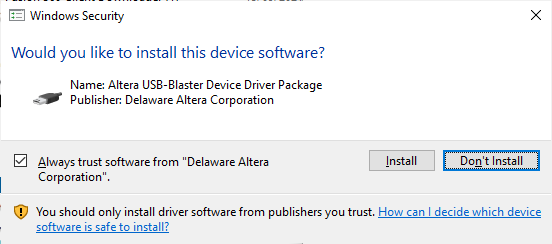
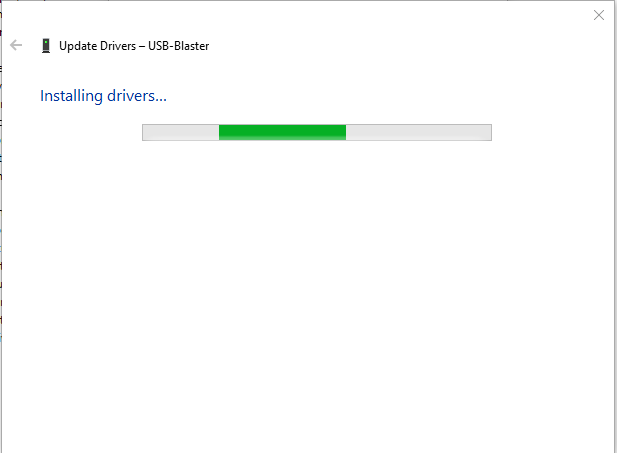
At this point, Windows will start installing the drivers:
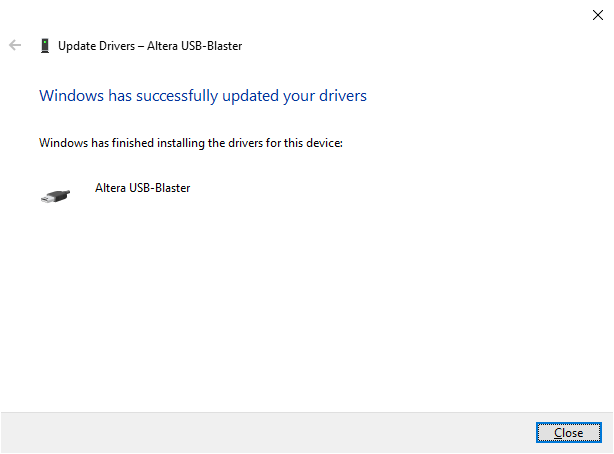
Click “Close” when installation is complete:
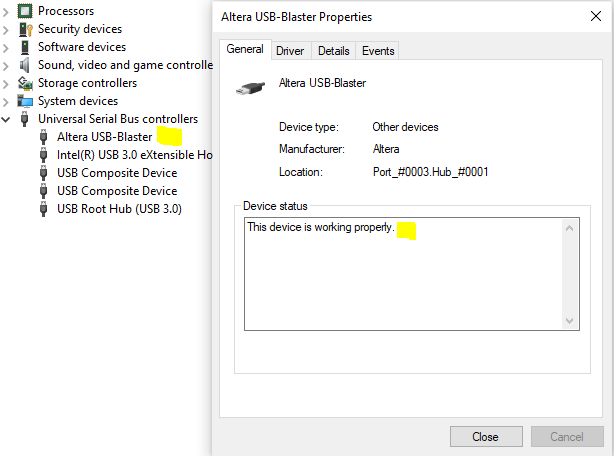
Now, in the properties it should say that the device is working properly and it will appear in Device Manager as Altera USB-Blaster.
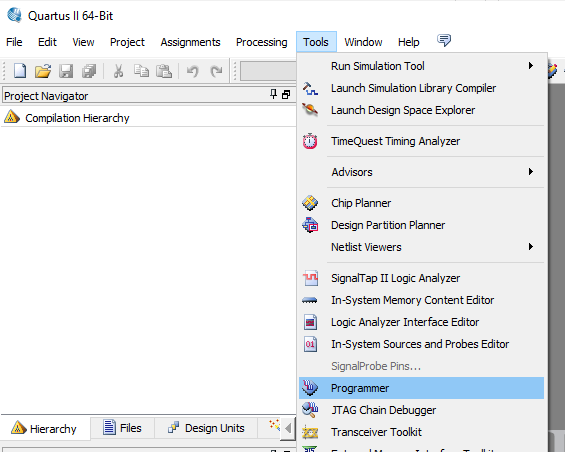
Selecting USB-Blaster as Programmer in Quartus II
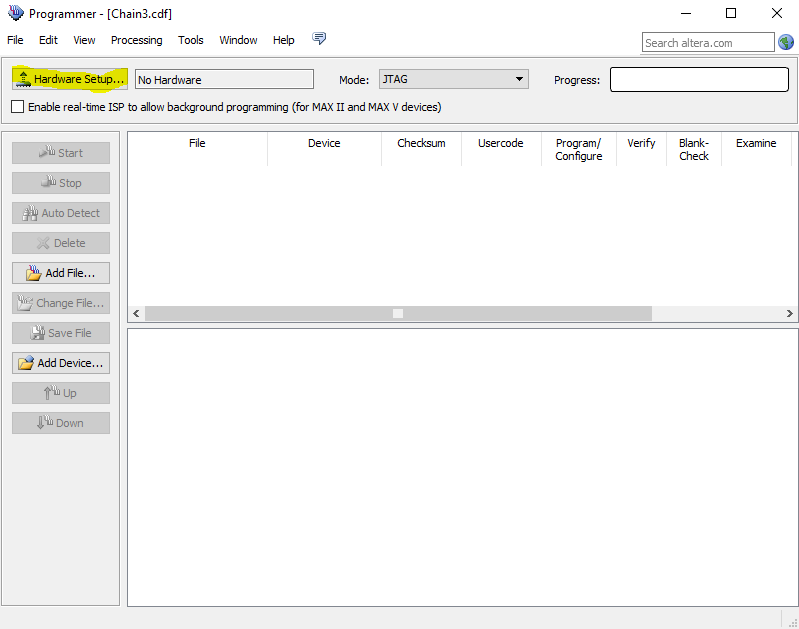
Click on Programmer in Tools menu:
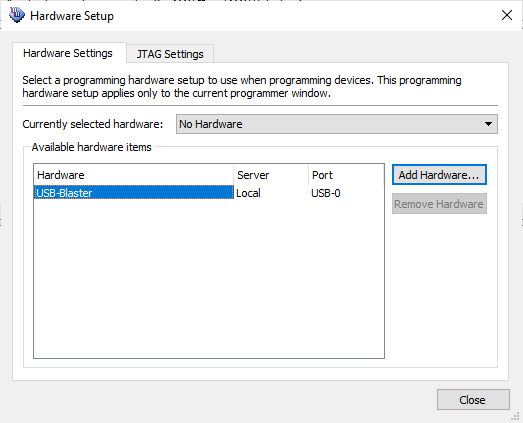
Click on Hardware Setup…:
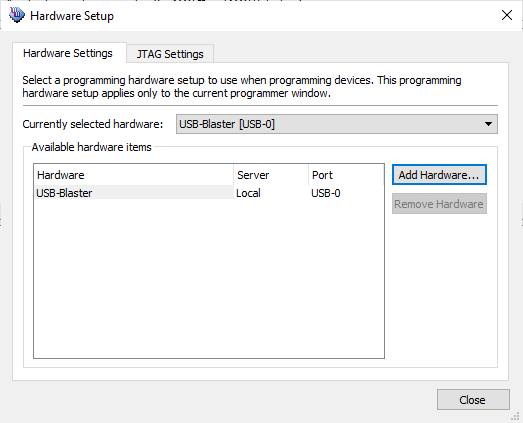
Change “Currently selected hardware to “USB-Blaster (USB-0)” from “No Hardware”:
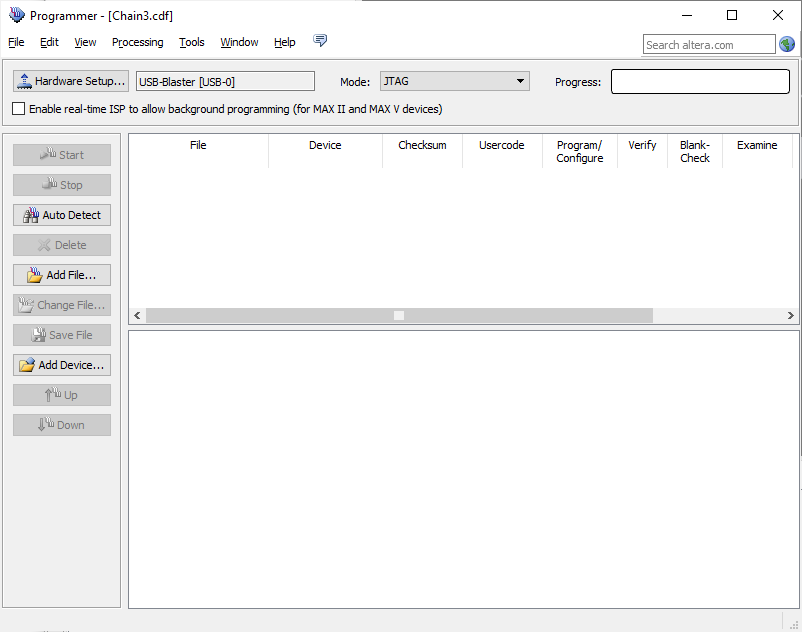
Click close after selecting USB-Blaster:
Connecting the FPGA
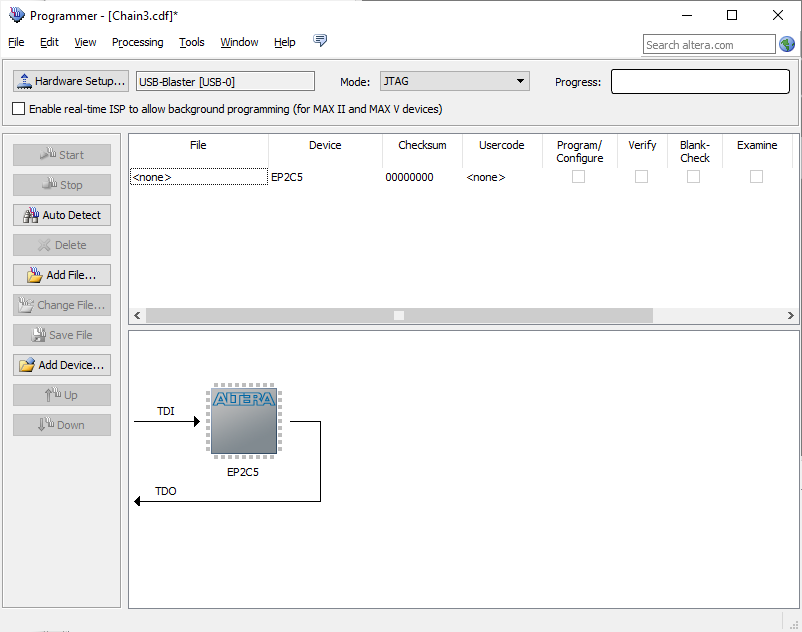
Connect a 5V power source to the FPGA board, and connect the USB-Blaster / Programmer to the FPGA’s JTAG header as well. Now click on Auto Detect, and it should appear as below:
875 total views, 2 views today