Raspberry Pi Pico can be purchased with or without header pins soldered to it. If you don’t have soldering equipment, buy with header pins so that you can use it with a breadboard. I soldered the header pins myself, as documented below:
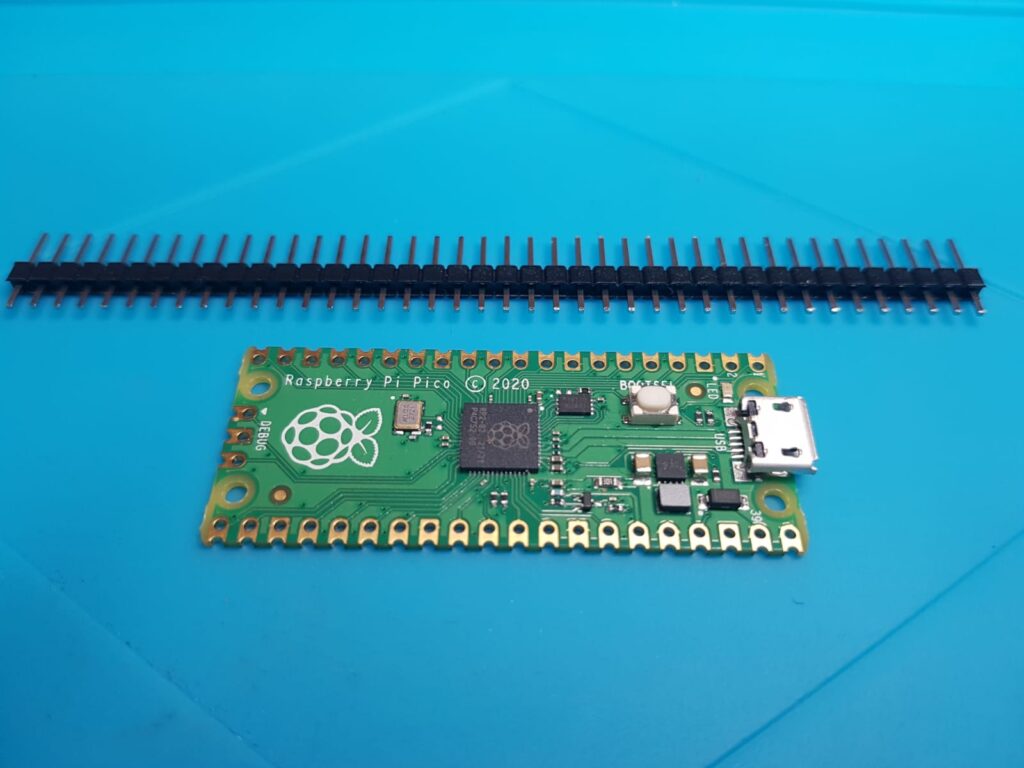
The standard header comes with 40 pins and the Pi Pico has 20 pins on each side, so break the header in the middle – just bend it where the plastic is thinner between the pins.
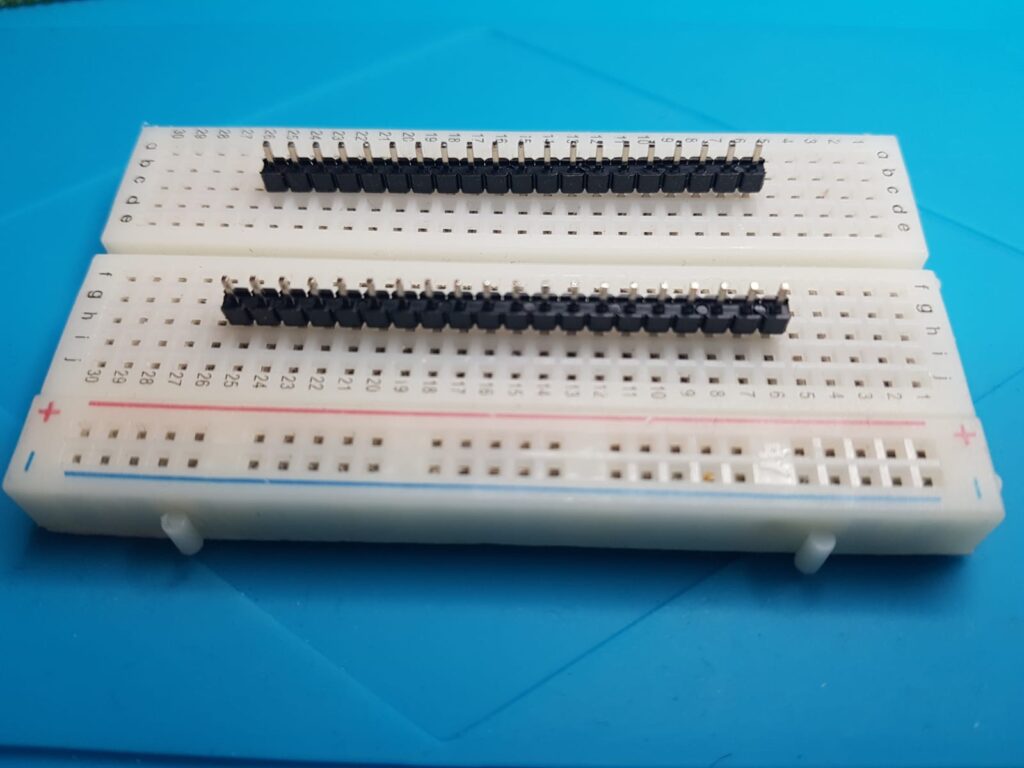
Insert the header pins in a breadboard to make soldering easier. Otherwise, if the pins are soldered slightly bent, you will have issues inserting them in the breadboard after soldering. This way, they are already in correct place, at correct angle.
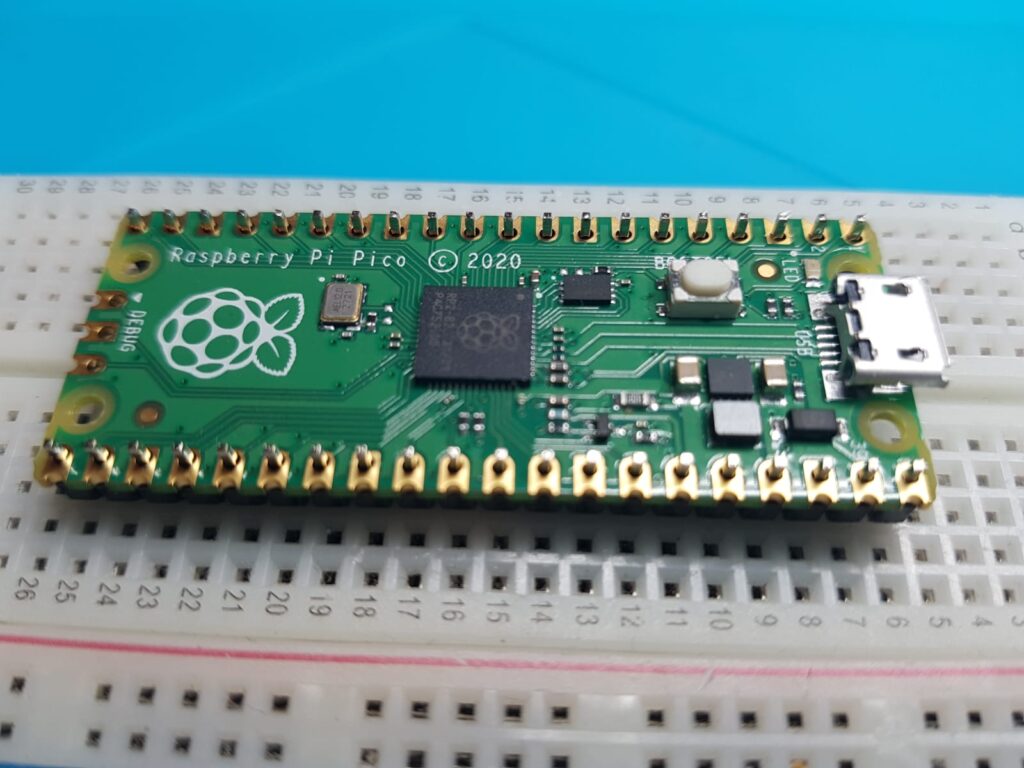
Place the Pic Pico firmly on the Header Pins so that it sits perfectly on the black plastic.
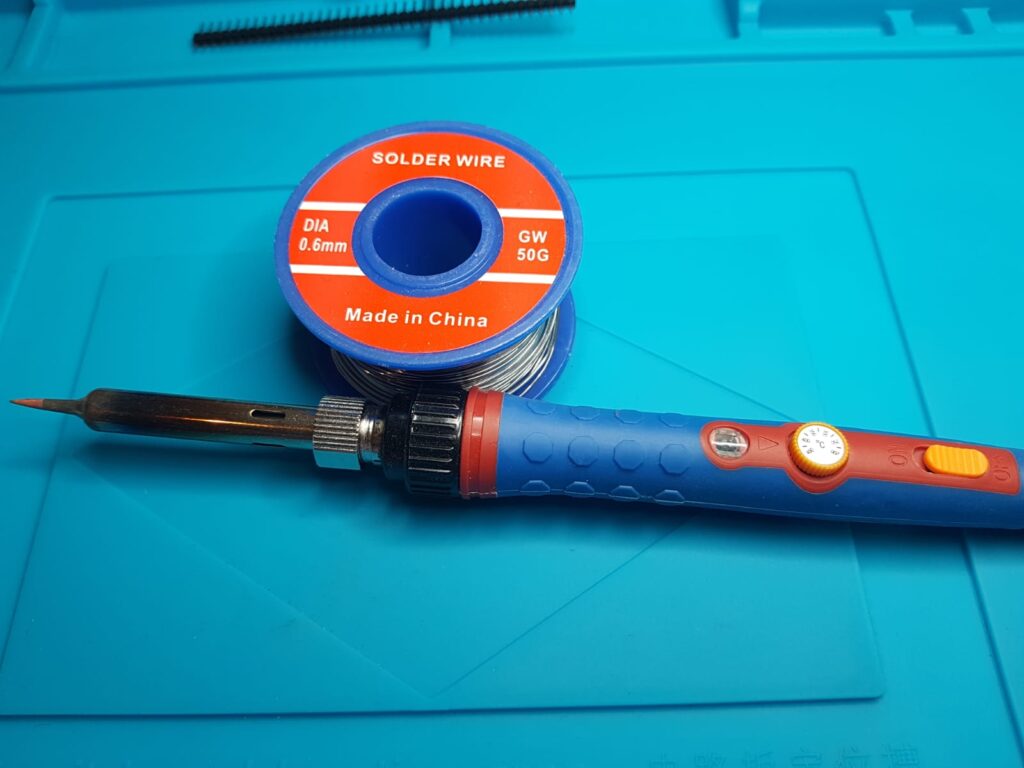
Use a fine tipped soldering iron and fine solder wire. Watch tutorials on youtube to get a good idea of the soldering process. Solder wire has a flux core, which helps it melt, and will smoke/fume while soldering. Solder wire usually contains lead (Pb) which is toxic, so avoid inhaling the smoke – solder in well ventilated room, use fume extractor fan if available. If doing a very small and quick soldering job, still hold your breath while soldering to avoid inhaling the fumes, and you can also blow them away if you don’t have good ventilation.
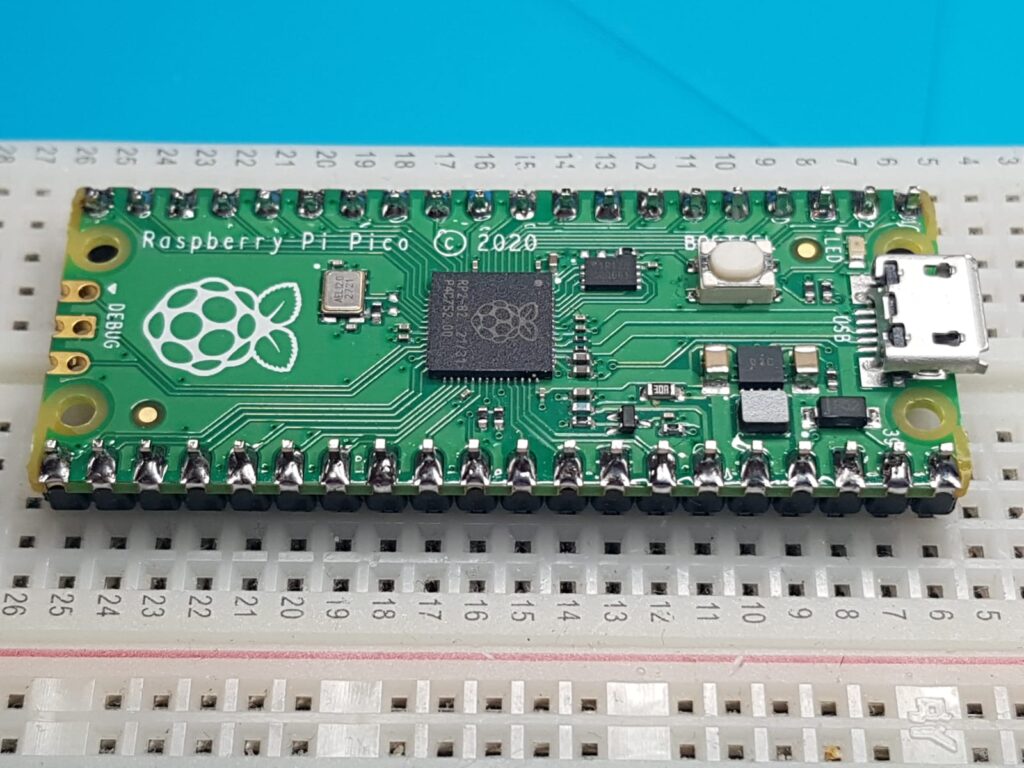
For easier soldering, put the Pi Pico at 90 degrees to how it’s shown in the photo above. If you are right handed, hold the soldering iron in the right hand, soldering wire in left hand, briefly put the hot soldering iron on a pin so that it touches both the pad and the header pin, then put the solder wire on the same pin so that it touches the pad and the soldering iron tip. It will melt immediately if the iron is hot enough, and spread on the pad and the pin, then lift the soldering iron. If it feels that the solder has not spread properly, touch it with the hot iron again very quickly before the solder goes cold, otherwise, with the flux gone and having the pad and pin as heat sink, it will be a bit harder to melt again. Put enough solder so that it spreads evenly, but not so much that it forms balls, or touches other pins. Soldering is an art, and will need some practice to perfect.
Don’t heat the pads for too long as excess heat to the circuit can damage electronic components. Also, the breadboard plastic isn’t heat resistant, if you heat the pins for too long, you’ll find the neighbouring plastic on the breadboard melted.
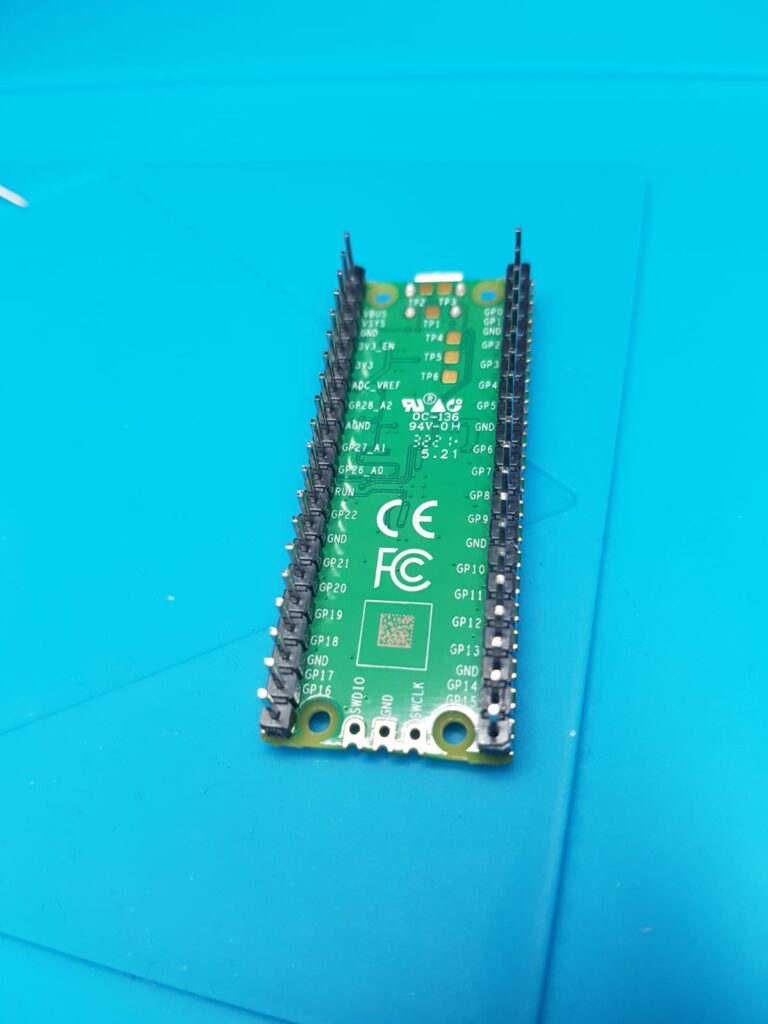
Raspberry Pi Pico has the pinout details on the underside, and the copyright etc on the front, which isn’t helpful when it’s going to be inserted in a breadboard. On the front, only pins 1, 2, and 39 are marked, so you’ll have to use a separate reference (on screen or printed) for pinout details. For easy, insert in breadboard so that pin 1 on Pi Pico aligns with row 1, 11, or 21… etc. Remember that pins on the right side on Pi Pico (and any other chip/board) go up in reverse – pin 40 is opposite to pin 1.
3,372 total views, 2 views today