USBasp sold on Amazon can come with old firmware, and doesn’t seem to be compatible with Windows 10. The one I bought has an ATMEGA8L-8AU chip.
Upgrading firmware
In order to upgrade the firmware, first step is to add jumper header / pins on J2.
The firmware can be upgraded using an Arduino Uno as the programmer.
In Arduino IDE, load:
File>Examples>ArduinoISP
Connect an Arduino Uno to USB and in Arduino IDE select the newly added serial port:
Tools>Port>COMx (where x is the port number that just appeared after connecting Arduino Uno)
Upload this “sketch”.
Connect the USBASP to Uno as below:
Arduino – USBasp
5v – VCC
GND – GND
D13 – SCK
D12 – MISO
D11 – MOSI
D10 – RESET
Close J2 to enable programming of USBasp.
Without closing J2, avrdude will fail with the following error:
avrdude: Device signature = 0x007f00
avrdude: Expected signature for ATmega8 is 1E 93 07
Double check chip, or use -F to override this check.
Download latest firmware from https://www.fischl.de/usbasp/
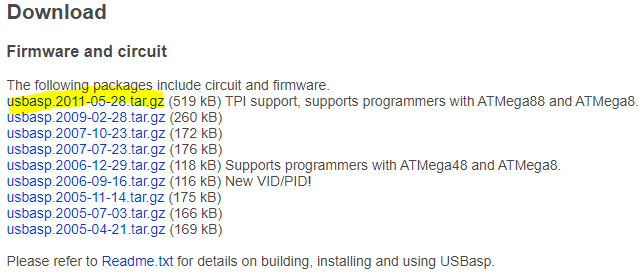
Unzip (WinRAR opens tar.gz files) to a location of your choosing and pick the appropriate hex file for your USBasp. You should confirm what’s written on the chip, you may need a magnifying glass and good lighting. The one I bought is ATMEGA8L-8AU:
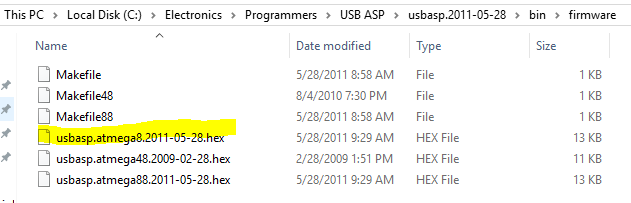
To make things easy and avoid typing long paths, create a new folder on C: drive (I created AVRdude), and copy the hex file there. Also copy here avrdude.exe from Arduino’s folder.
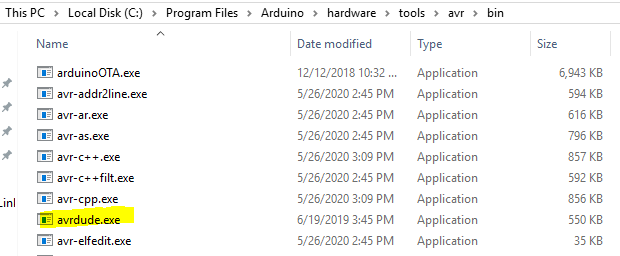
Another file you need to copy here is avrdude.conf, also from Arduino’s folder.

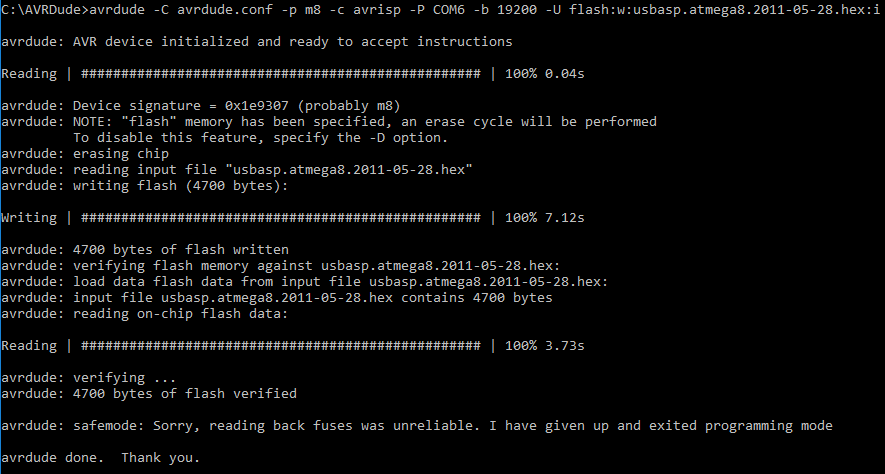
Start command prompt and change to this new folder where you have collected avrdude and hex files and type the following command (Change COM6 to whichever port is assigned to ArduinoISP):
avrdude -C avrdude.conf -p m8 -c avrisp -P COM6 -b 19200 -U flash:w:usbasp.atmega8.2011-05-28.hex:i
After flashing USBasp, download and install Zadig if not installed. Be careful not to select any other USB device connected to your computer other than USBasp, I haven’t tried it but I think you’ll replace its driver and render it useless if you select another USB device, until you reinstall the original drivers. It is quite easy to overlook this selection as this software automatically picks others when USBasp is removed and reinserted.

libusb0-win(v1.2.6.0) didn’t work for me, might work for other boards/firmware versions.
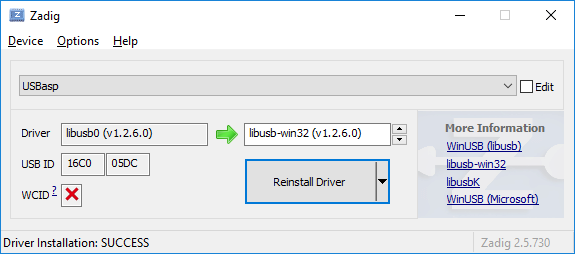
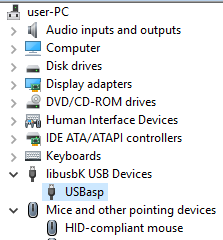
In Device Manager, it may appear fine, because there is a driver installed for it, but doesn’t necessarily mean it will work.
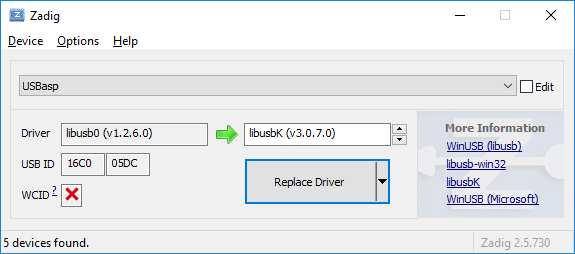
I replaced the libusb0-win32(v1.2.6.0) with libusbK(v3.0.7.0)
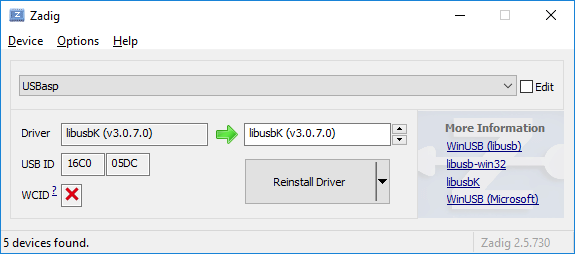
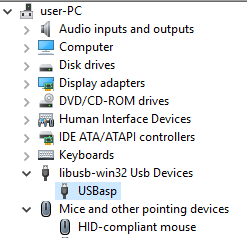
If a driver is installed correctly, USBasp will appear in Device Manager with the correct driver name as device type, libusbK USB Devices in this case.
Programming with USBasp
You can connect USBasp to the ICSP header on the Uno board that you just used to upgrade the firmware. If there are no markings on the header, you can easily find the ground pin and align the socket with it.
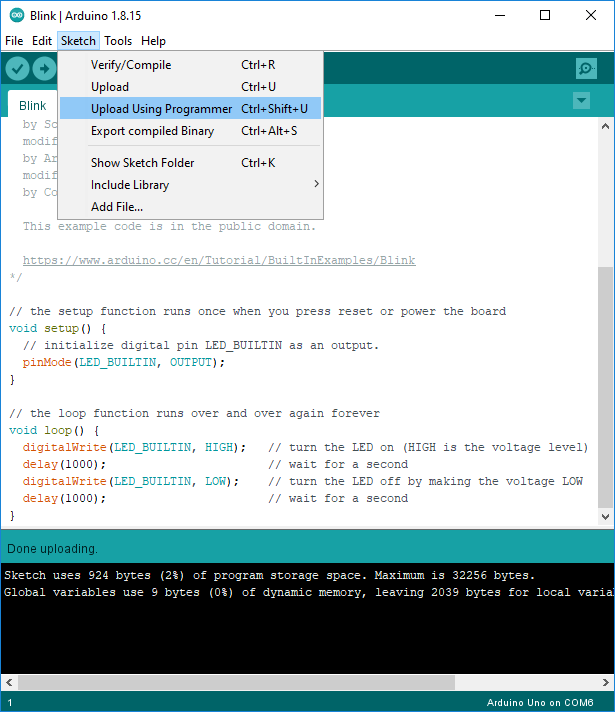
The difference while using USBasp is that you have to use “Sketch>Upload Using Programmer”.
At this stage, you would have erased/overwritten the bootloader, and you won’t be able to upload sketches directly to the Uno with a USB cable. But worry not, just use the USBasp to connect to it and go to “Tools>Burn Bootloader”. Your Uno will be good as new.
3,503 total views, 2 views today