Raspberry Pi Pico is based on a new microcontroller RP2040 designed by Raspberry Pi themselves. This is quite a low cost board and appears to be capable enough. I have just purchased a couple and going to document it here while I explore how it works. Rather than writing up too much, I’ll go straight to the steps needed; you can read the lengthier versions elsewhere if interested.
Connecting with a computer
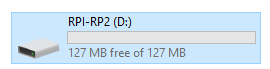
I’m using a Windows 10 computer. Press and hold the BOOTSEL button on Raspberry Pi Pico and plug it in a USB socket on the computer. It appears as a USB flash drive:
When you open this drive, it has two small files on it:

The text file INFO_UF2 has the following contents:
|
1 2 3 |
UF2 Bootloader v3.0 Model: Raspberry Pi RP2 Board-ID: RPI-RP2 |
And the INDEX html file has the following contents:
|
1 2 3 4 5 6 7 8 9 |
<html> <head> <meta http-equiv="refresh" content="0; URL='https://raspberrypi.com/device/RP2?version=E0C9125B0D9B'"/> </head> <body> Redirecting to <a href='https://raspberrypi.com/device/RP2?version=E0C9125B0D9B'>raspberrypi.com</a> </body> </html> |
Opening this INDEX file in browser basically redirects you here:
https://www.raspberrypi.com/documentation/microcontrollers/?version=E0C9125B0D9B
Downloading and installing MicroPython
Download MicroPython UF2 file from here:
https://micropython.org/download/rp2-pico/rp2-pico-latest.uf2
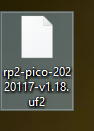
Save it somewhere you can find it easy, for example on the Desktop. The file I downloaded is rp2-pico-20220117-v1.18.uf2
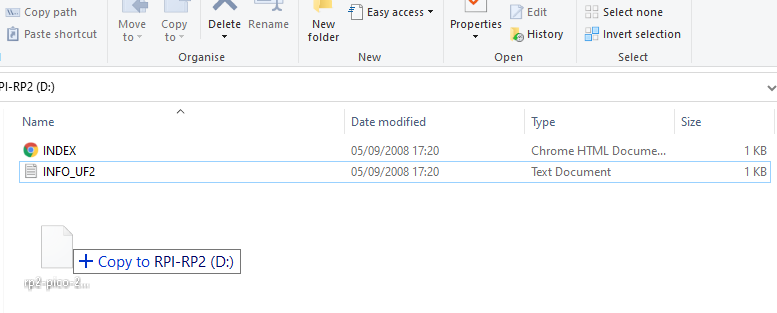
Now drag and drop this file on to Raspberry Pi Pico (RPI-RP2):
When I did this, Raspberry Pi Pico restarted by itself when file was copied, and then I saw a Windows message saying it was installing new hardware, perhaps F5 mode something. The removable flash drive RPI-RP2 did not appear again.
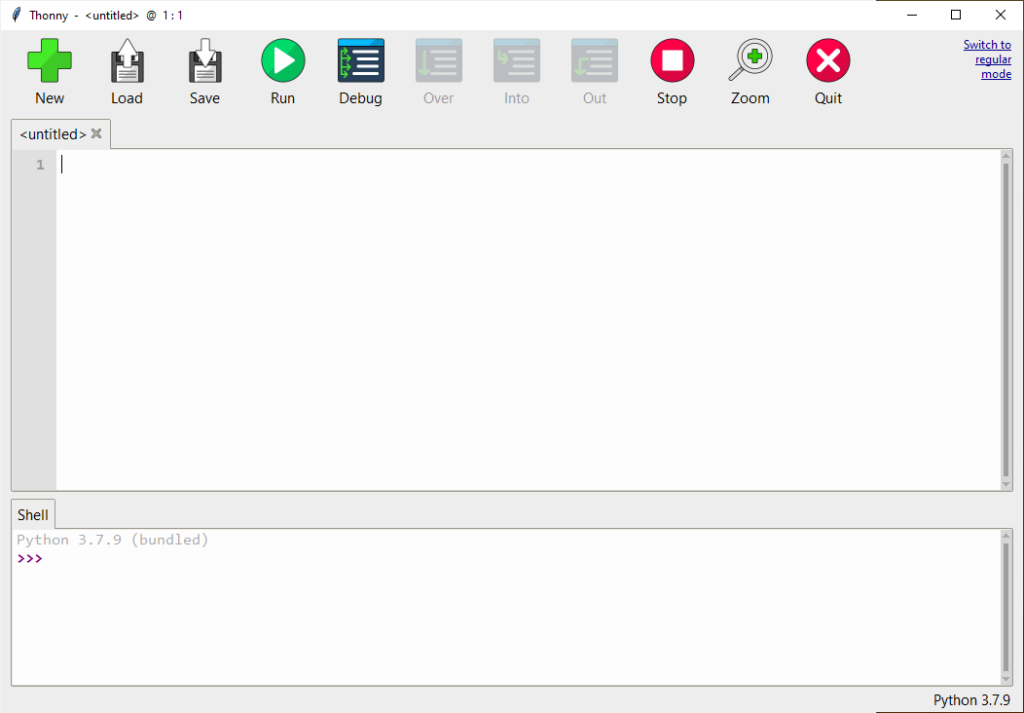
Downloading and installing Thonny IDE
Go to Thonny website:
Download the Windows version. Save it where you can find it.
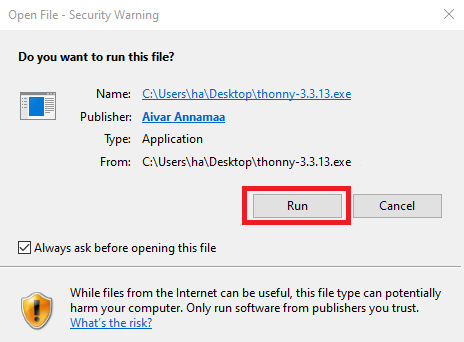
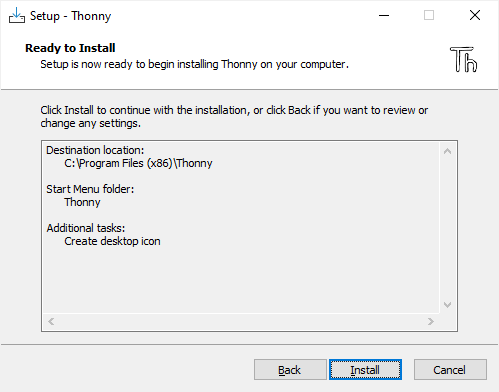
Double click on the downloaded file to start installation.
You will probably get a security warning, click Run:
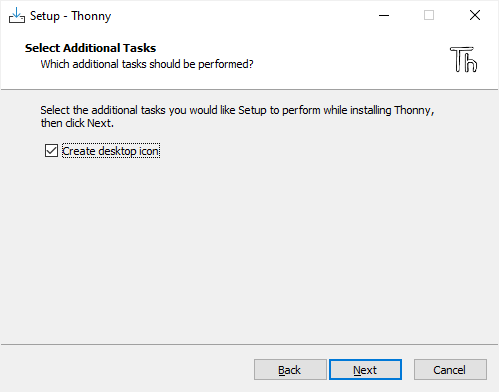
Choose an option:
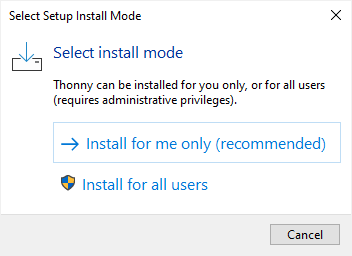
I selected “Install for all users”, and it asked for permission once more.
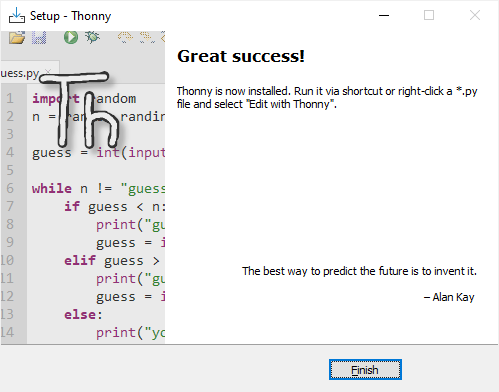
Now you should have an icon on your Desktop for Thonny if everything went well:

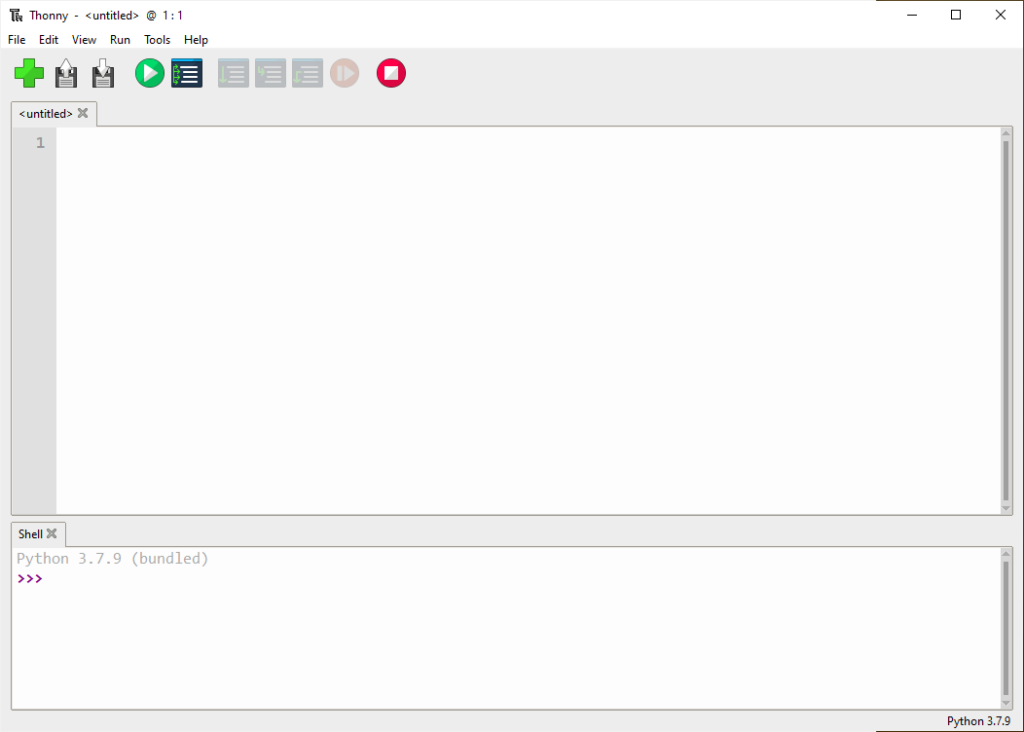
Running for first time:
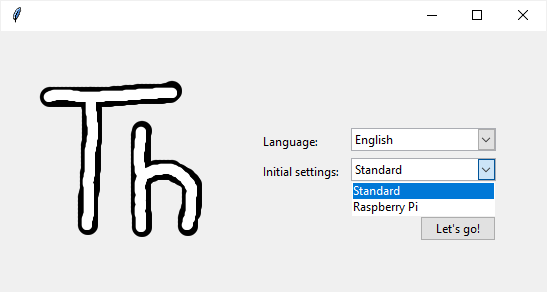
If you picked Raspberry Pi initial settings, you will get the above interface, which doesn’t have menu for more tools and options. Click on the “Switch to regular mode” in upper right corner, then close Thonny and open again.
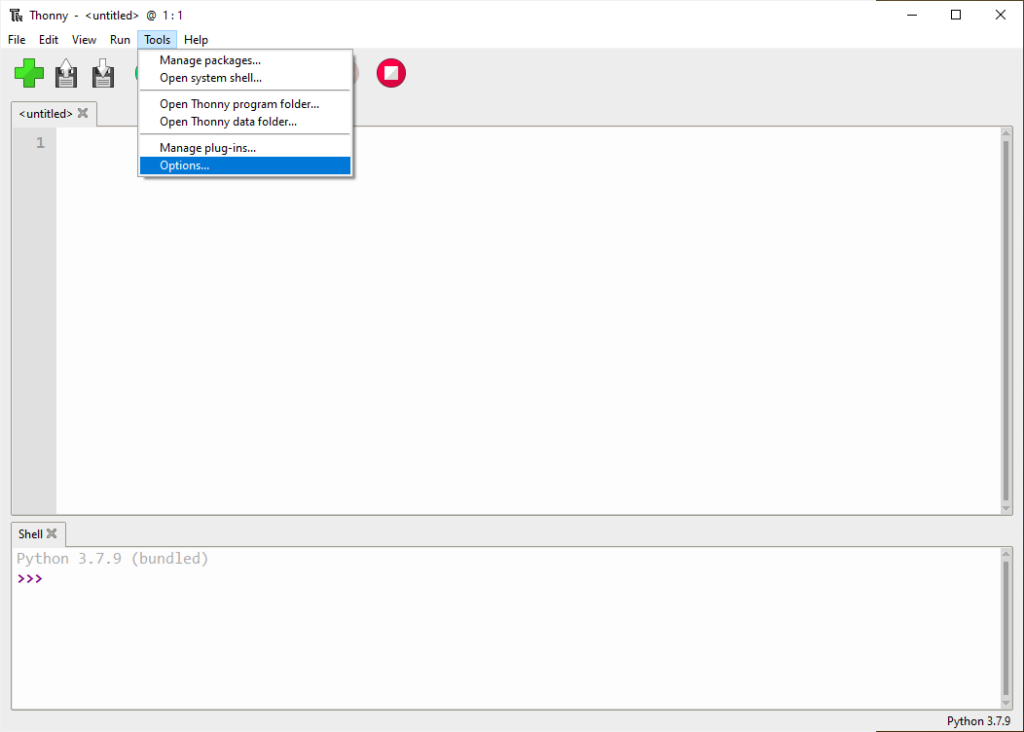
Now go to Tools > Options:
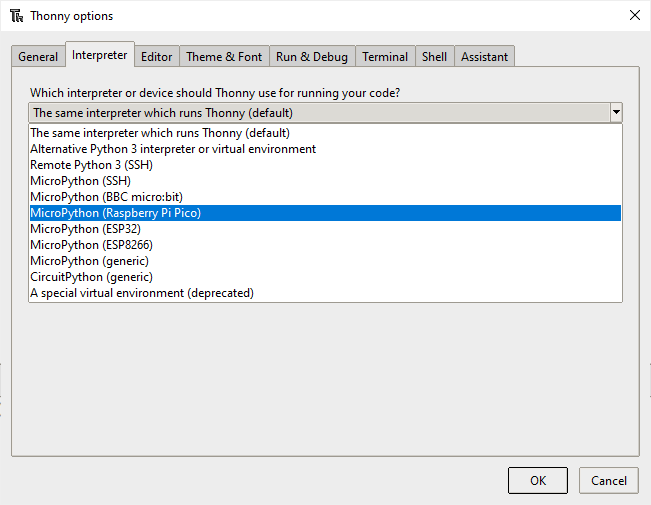
After selecting MicroPython (Raspberry Pi Pico), additional option to pick a Serial Port number is displayed. You can leave it to the default “Try to detect port automatically”, unless you have multiple Serial Port devices attached. If you do have multiple devices, you can figure out which one is from the Raspberry Pi Pico by unplugging it from the computer and noting which Serial Port number disappeared. Plug it in again and pick the appropriate port number.
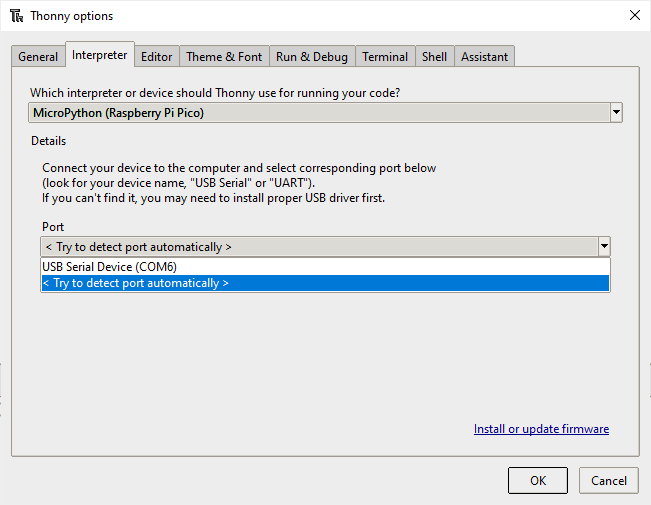
Thonny will confirm in Shell that MicroPython for Raspberry Pi Pico with RP2040 is the current interpreter if it can connect to the Raspberry Pi Pico.
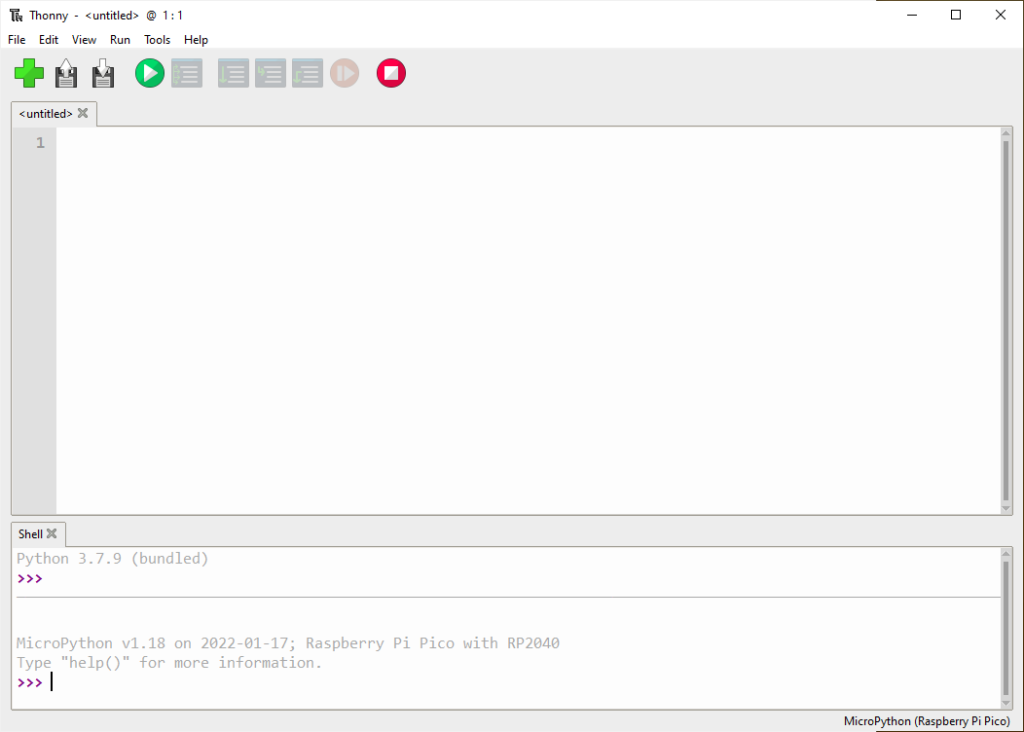
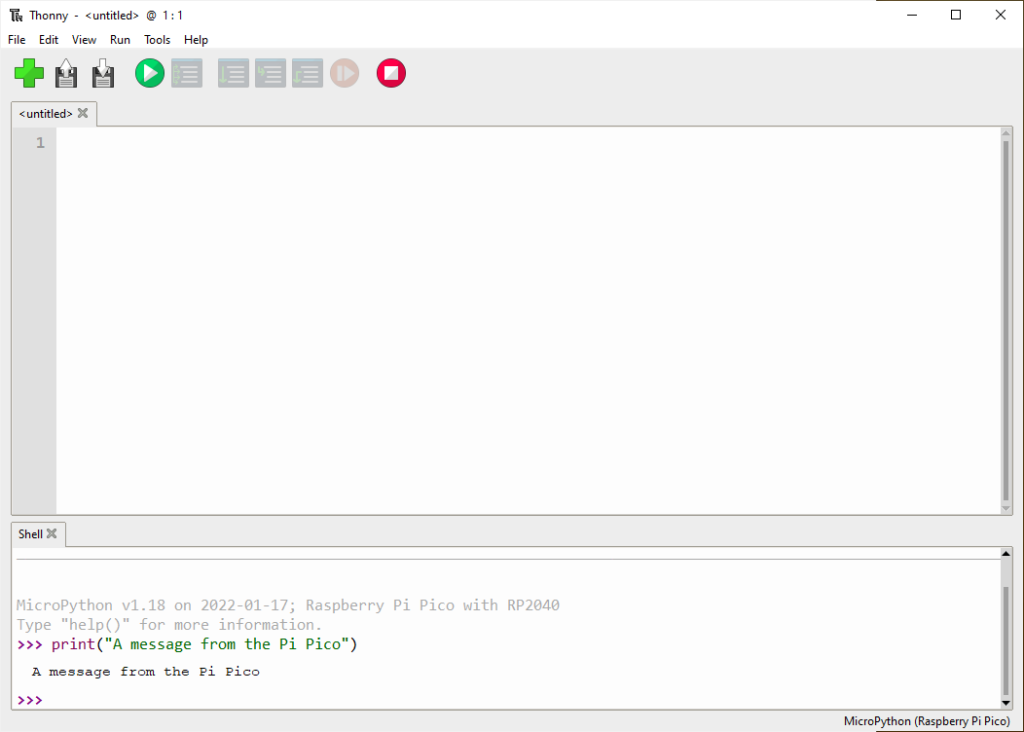
To check that the interpreter is working, you can type a command in Shell and see if it works. For example, type
|
1 |
print("A message from the Pi Pico") |
Whatever you type between the quotation marks should be printed back in the Shell window
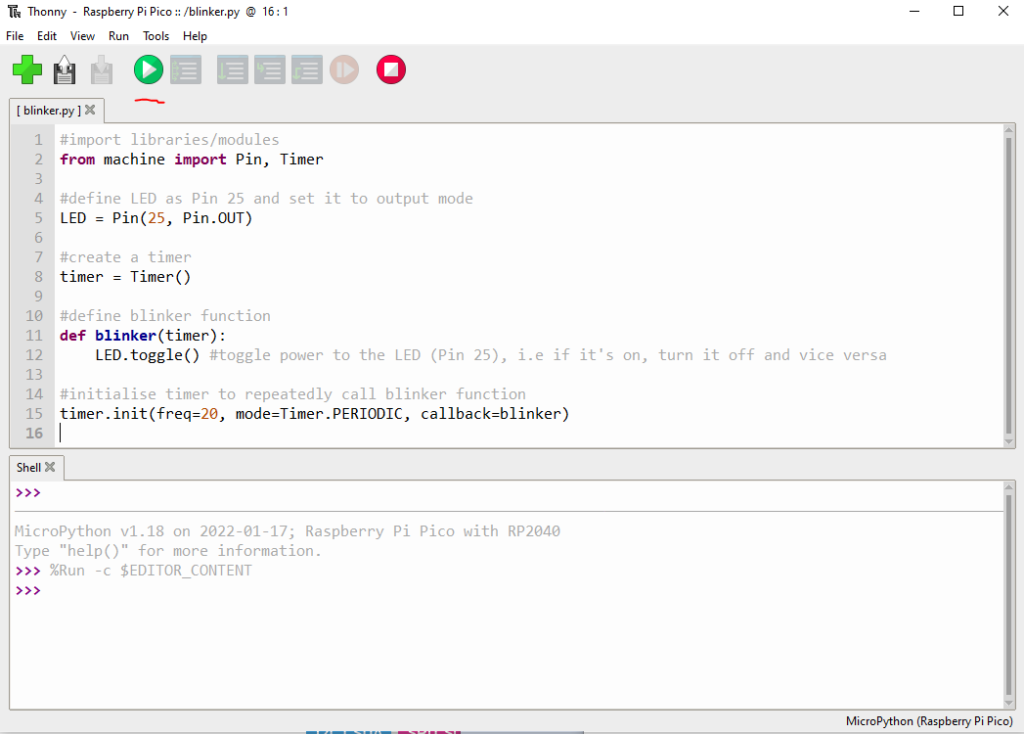
Running a test program
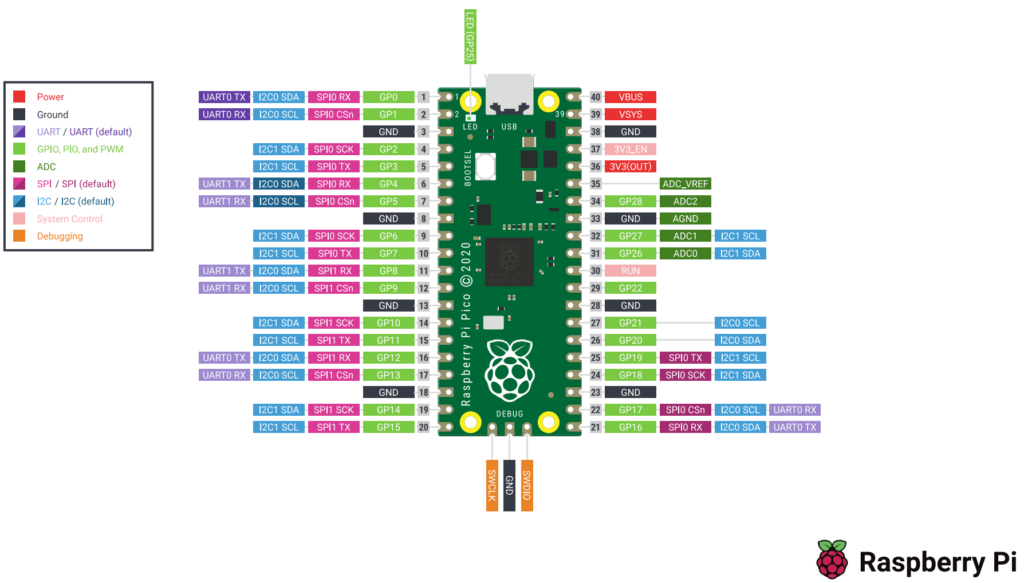
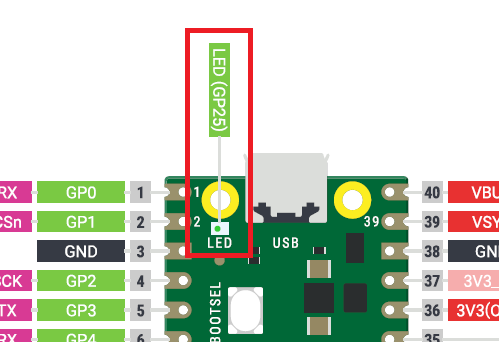
Looking at the pinout diagram (at the top of this page), the onboard LED is attached to pin 25 (GP25)
We can write a program to blink this LED.
Copy the following program in Thonny IDE
|
1 2 3 4 5 6 7 8 9 10 11 12 13 14 15 |
#import libraries/modules from machine import Pin, Timer #define LED as Pin 25 and set it to output mode LED = Pin(25, Pin.OUT) #create a timer timer = Timer() #define blinker function def blinker(timer): LED.toggle() #toggle power to the LED (Pin 25), i.e if it's on, turn it off and vice versa #initialise timer to repeatedly call blinker function timer.init(freq=20, mode=Timer.PERIODIC, callback=blinker) |
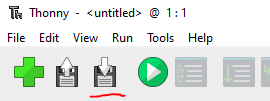
Click on Save button:
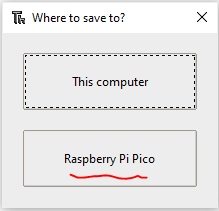
Where to save dialogue will open, click on Raspberry Pi Pico:
Type a file name. File name must have “.py” extension. Click OK to save:

Click Run button and the LED on the Raspberry Pi Pico should start blinking:
9,182 total views, 10 views today