Arduino IDE Support
To add support for programming Digispark in Arduino IDE, add the following link in “File>Preferences>Additional Boards URLs”
http://digistump.com/package_digistump_index.json
Then go to “Tools>
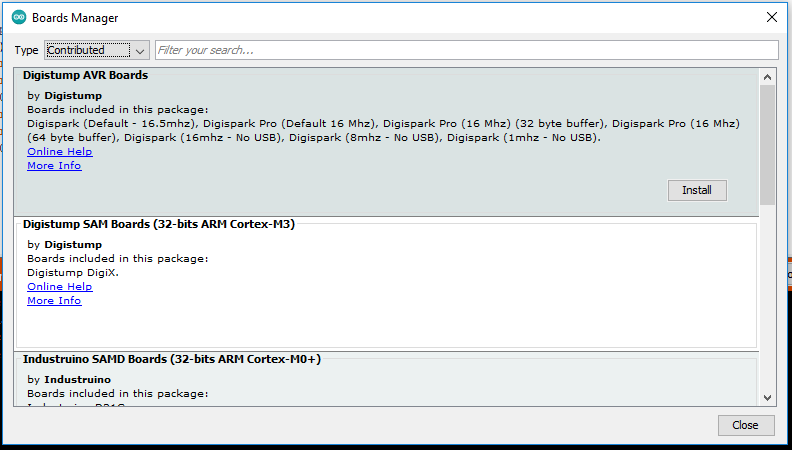
Programming with Arduino IDE
Digispark has minimalist circuit that doesn’t provide much protection to itself or the USB port on the computer, which is why Digistump advises to use an external USB hub when connecting to a PC for programming.
A powered USB hub with individual on/off buttons for each USB port is quite handy when programming the Digispark, because it doesn’t work like the usual Arduino boards that create a COM port on PC for programming and serial communications. Instead, it appears as Digispark Bootloader under “libusb-win32 Usb Devices” in the Device Manager.
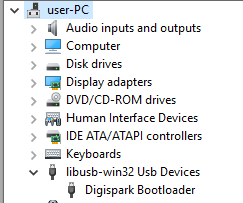
This is the micronucleus bootloader running on Digispark. This bootloader doesn’t allow programming at any time, instead it only checks for about first 5 seconds at boot time to see if a program is waiting to be written. So every time you want to program the Digispark, you have to insert it in the USB port when prompted by Arduino IDE. However, you can achieve the same effect by using the on/off button on the USB hub.
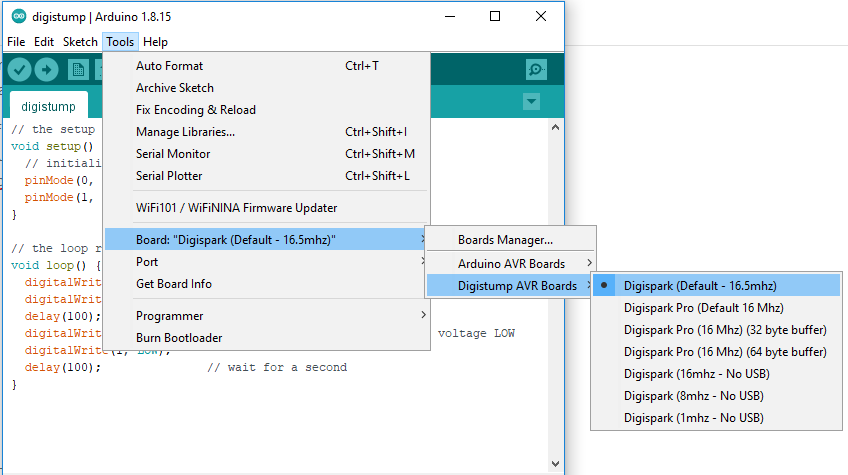
Select the Digispark board as below:
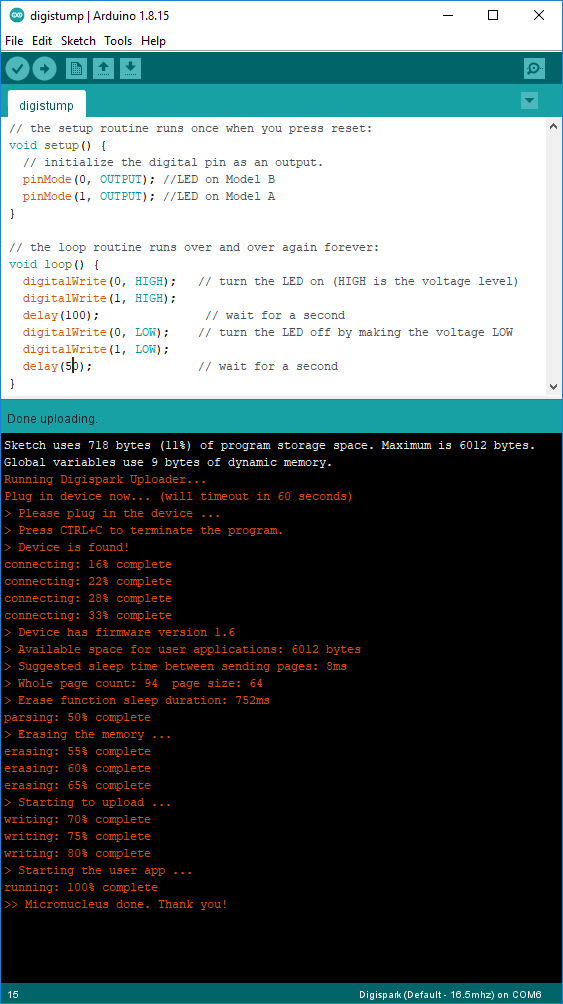
Take out the Digispark from USB (or switch off if your hub has that function). Click “upload” icon, and you will be prompted to plug in the device (Digispark) within 60 seconds.
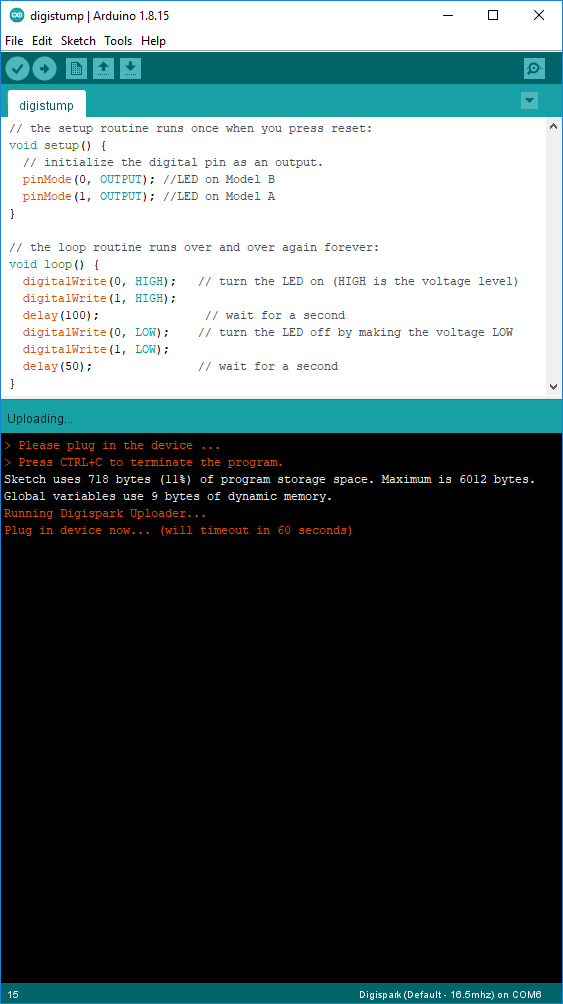
After inserting Digispark in the USB port, it will get programmed if micronucleus bootloader is installed on Digispark and driver on PC.
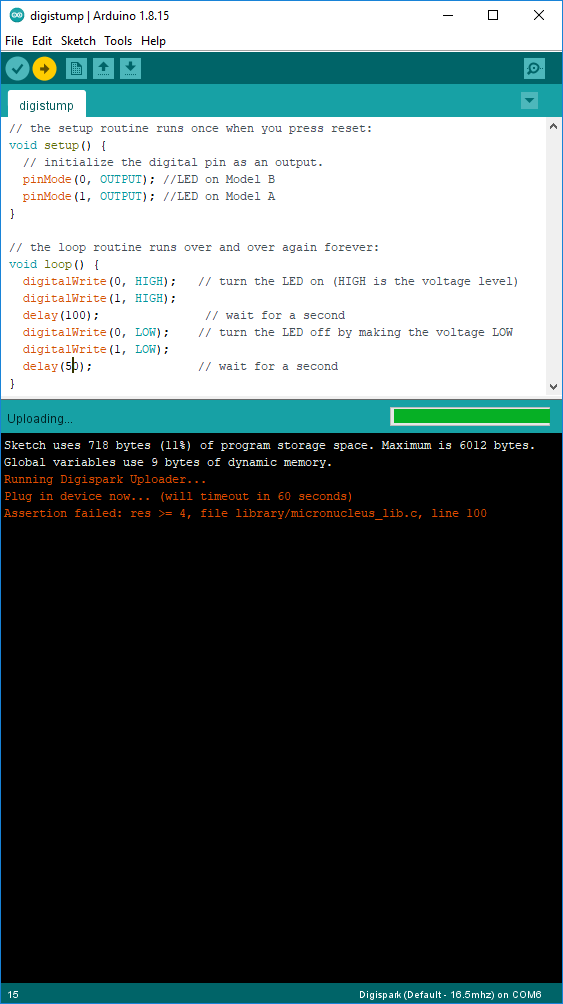
If you get the following error message, it simply means that you didn’t take out the Digispark before clicking on upload in Arduino IDE. It recognises it as Digispark device, but gets no response from it because it has been plugged in for longer than 5 seconds.
4,147 total views, 5 views today
Pretty! This has been an incredibly wonderful post. Thank you for supplying this information.
Way cool! Some unconditionally real points! I appreciate you writing this.